Mark objects yourself
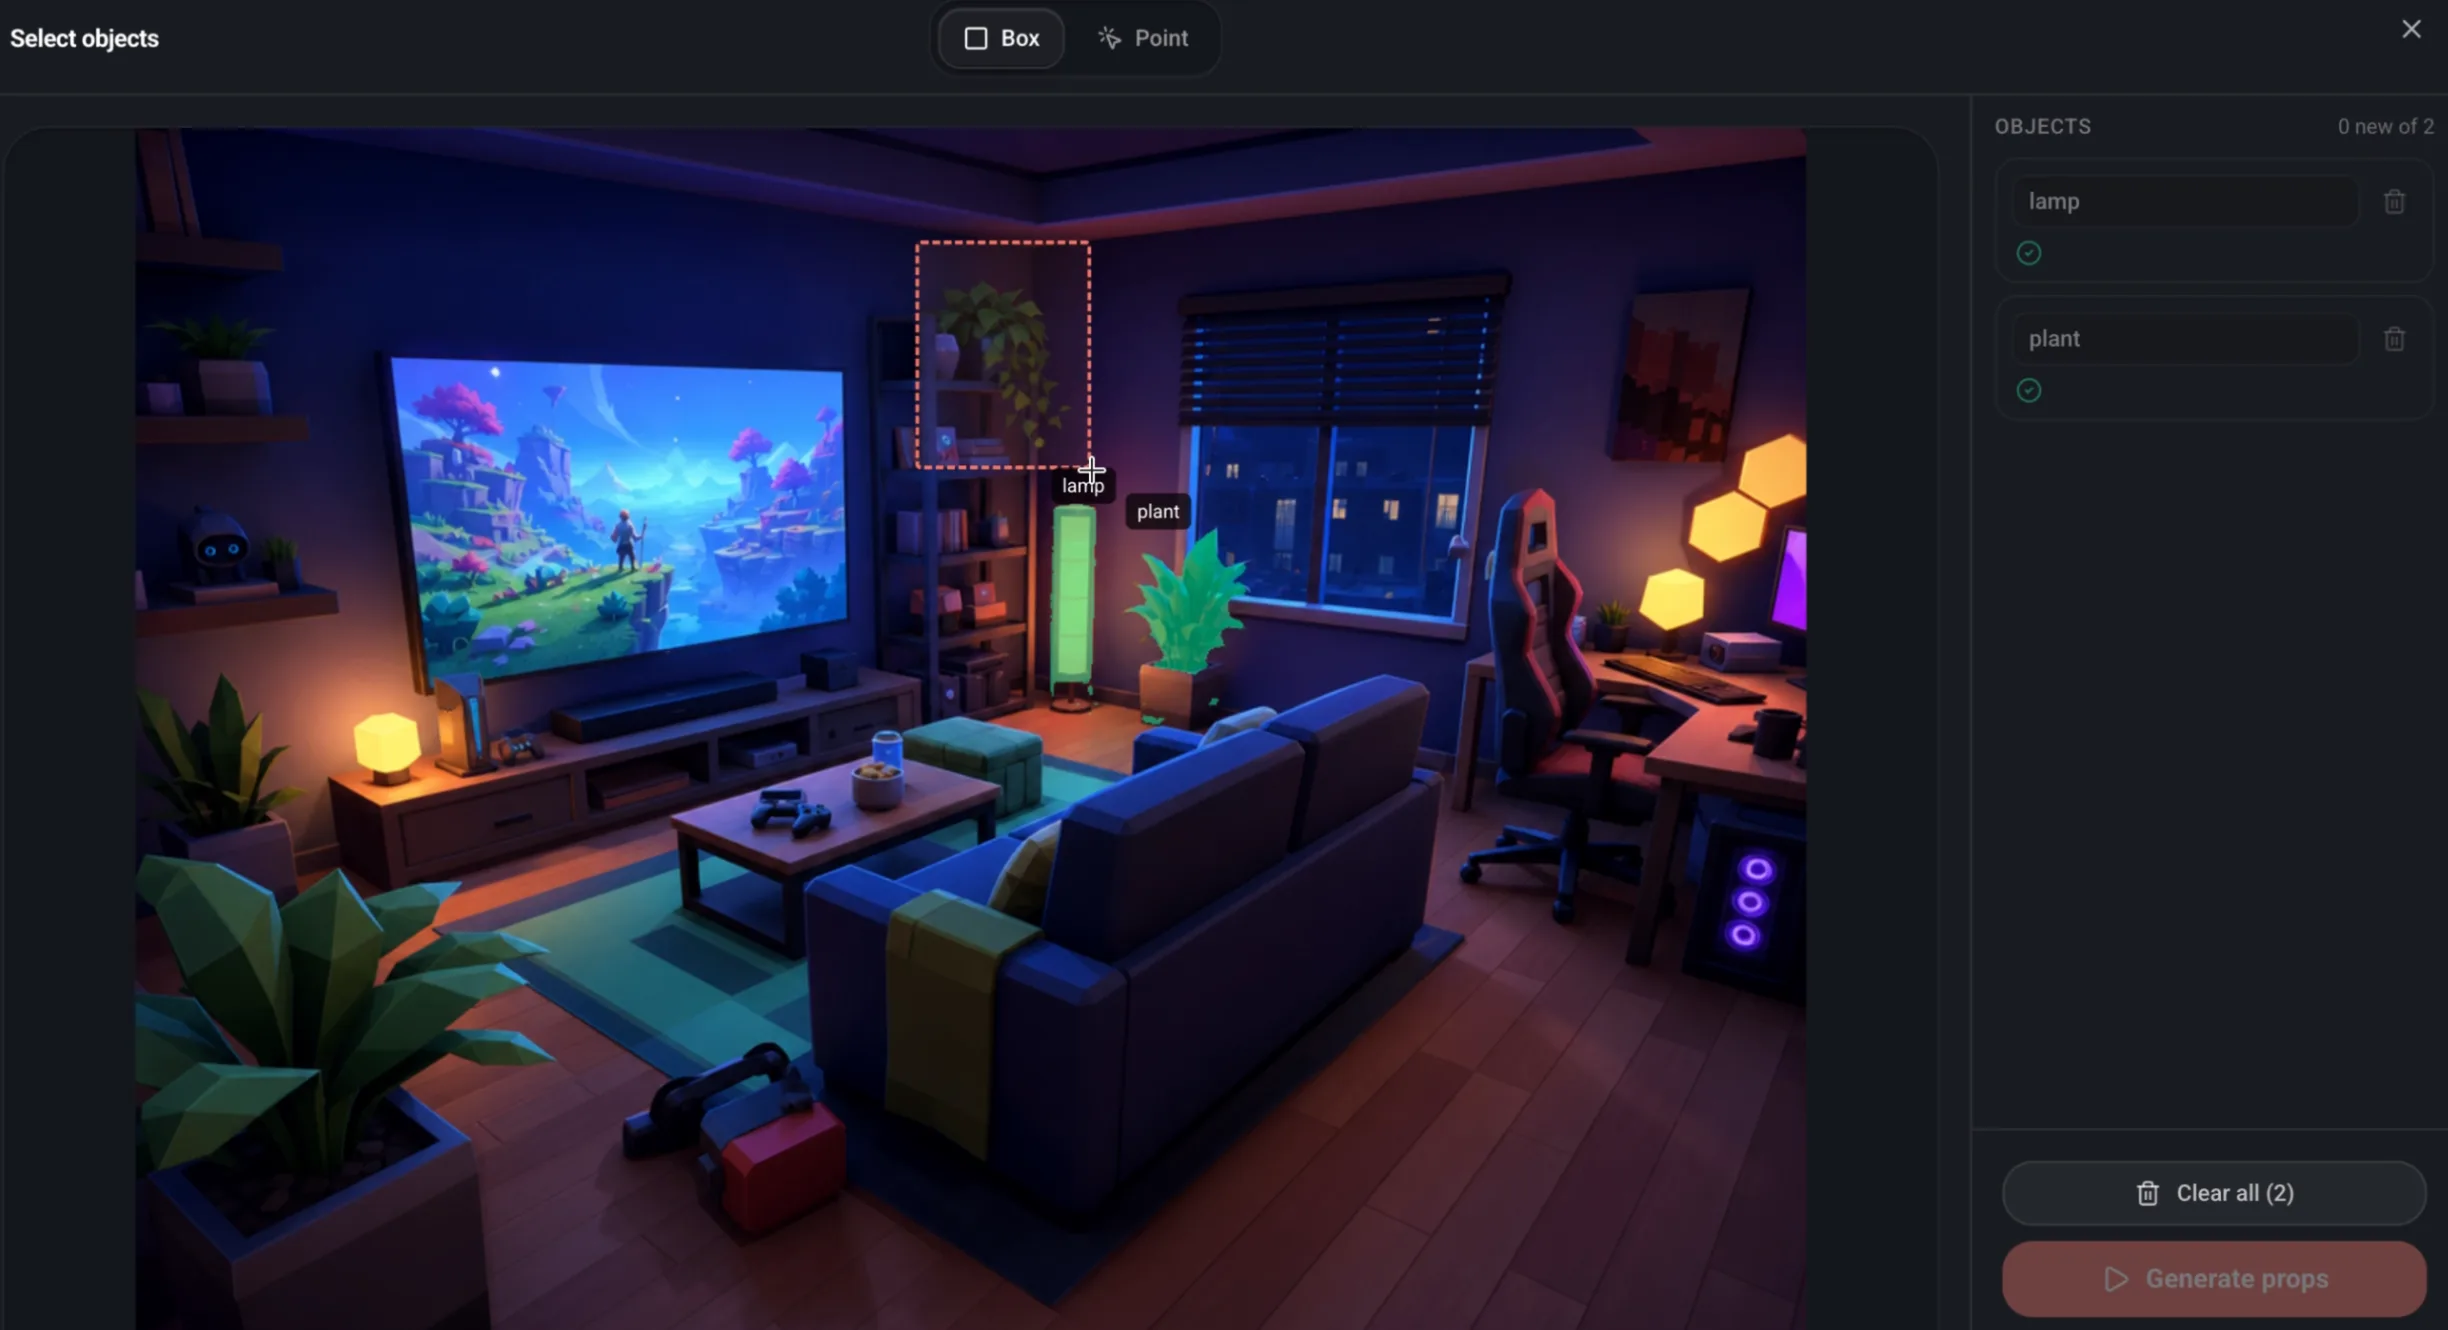
Props Extraction has a second mode. Instead of letting the analysis find the objects, you can outline them yourself: draw around an object, name it, and correct the edges by clicking. Each one comes back as its own prop node.
Two ways to find objects
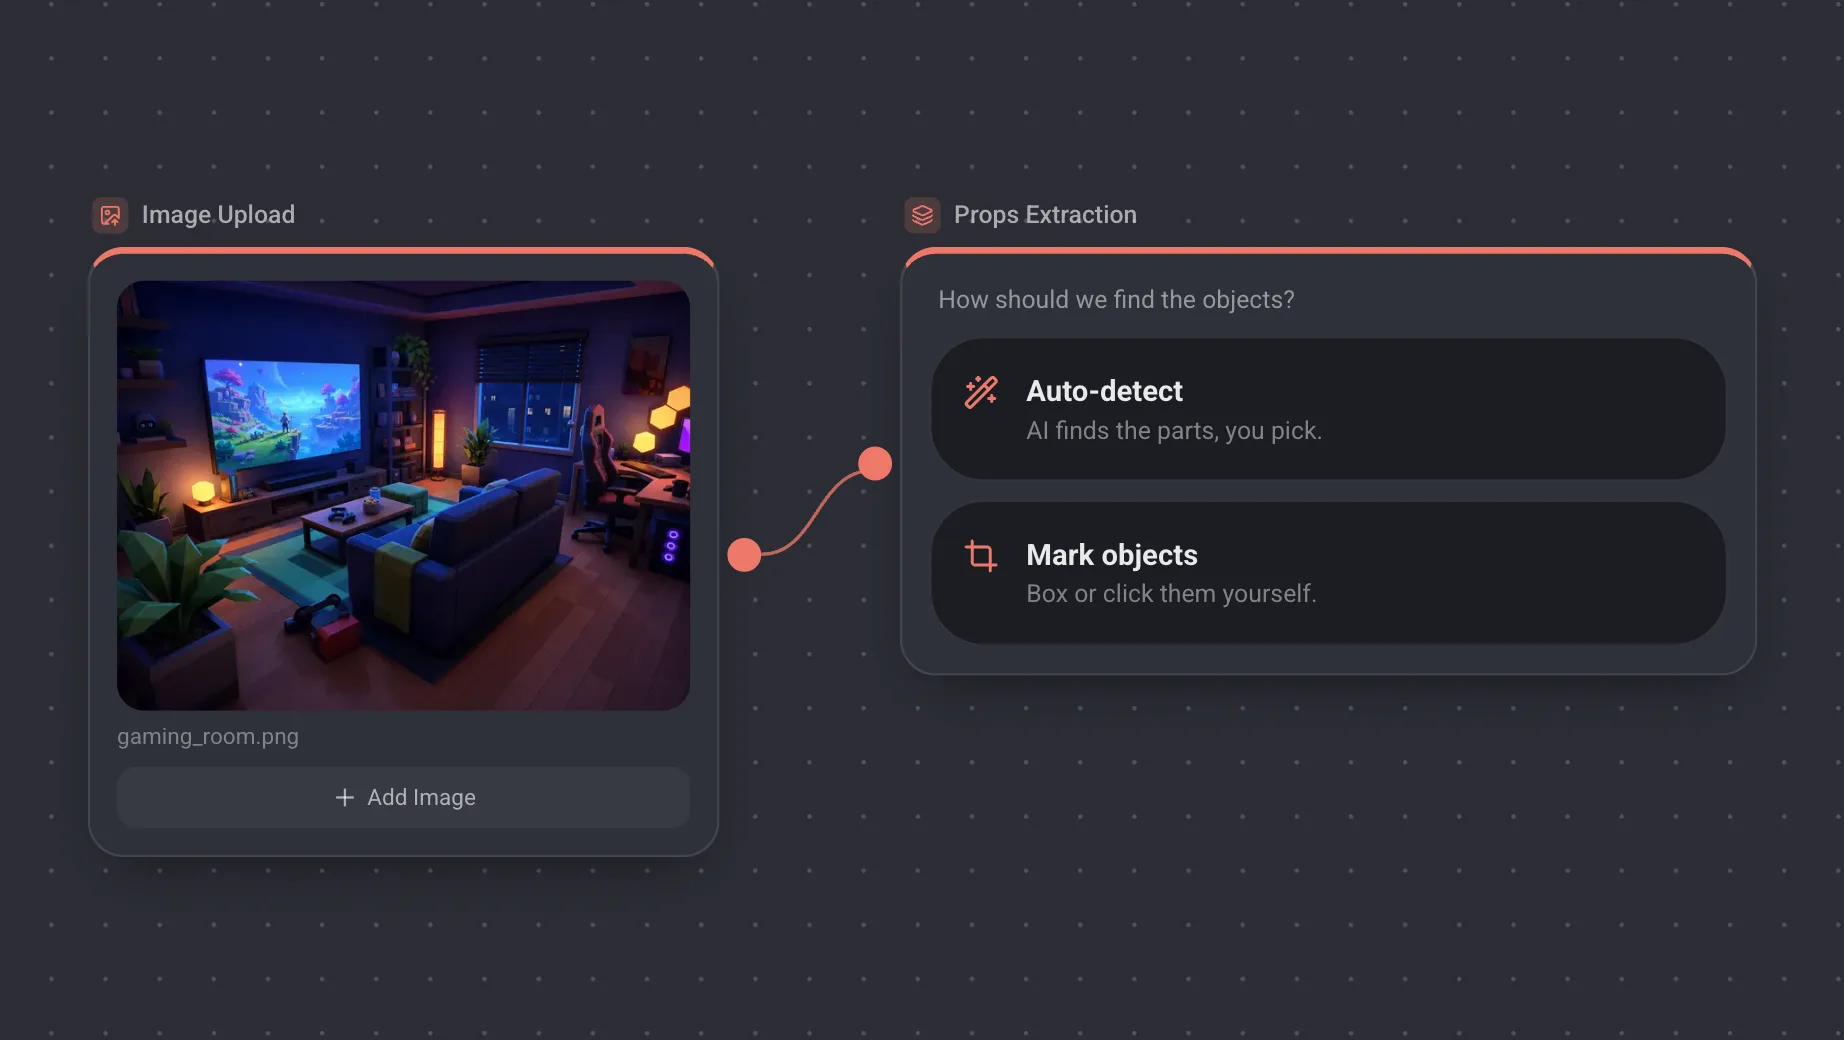
A Props Extraction node starts by asking how the objects should be found.
- Auto-detect. The analysis reads the image and lists what it found, and you tick the ones to keep. Good on a clean image with a handful of clearly separated objects.
- Mark objects. You outline each object yourself and name it. Good on scenes and complex characters.
Why scenes and complex characters
Auto-detect works from a reading of the whole image, so its list is only as good as what the image reads as. Three things stretch that.
- Density. A room, a market stall, a workbench holds fifty objects. A list of fifty is not a list you can use, and the one lamp that matters is somewhere in it.
- Overlap. In a scene, objects sit in front of each other. A plant standing against a bookshelf is one shape to the analysis and two objects on the canvas. A box settles which of the two it is.
- Layered outfits. On a detailed character, a suit jacket, the vest under it and the tie are one region unless somebody separates them. Naming the parts is faster than reading a list that grouped them.
Marking also gives the pipeline a region instead of a phrase. A name is a search, a box is an address, and the reconstruction starts from exactly the pixels you pointed at.
Box or point
- 1Box drags a rectangle around an object. It is the default, because a rectangle bounds the whole thing and keeps the edges from settling on the shade instead of the whole lamp.
- 2Point clicks the object. One click, for when the edges are obvious and the object is well separated from its background.
- 3Name what you drew, for example floor lamp. That name becomes the prop node's name.
- 4Keep going. Edges resolve in the background while you draw the next object.
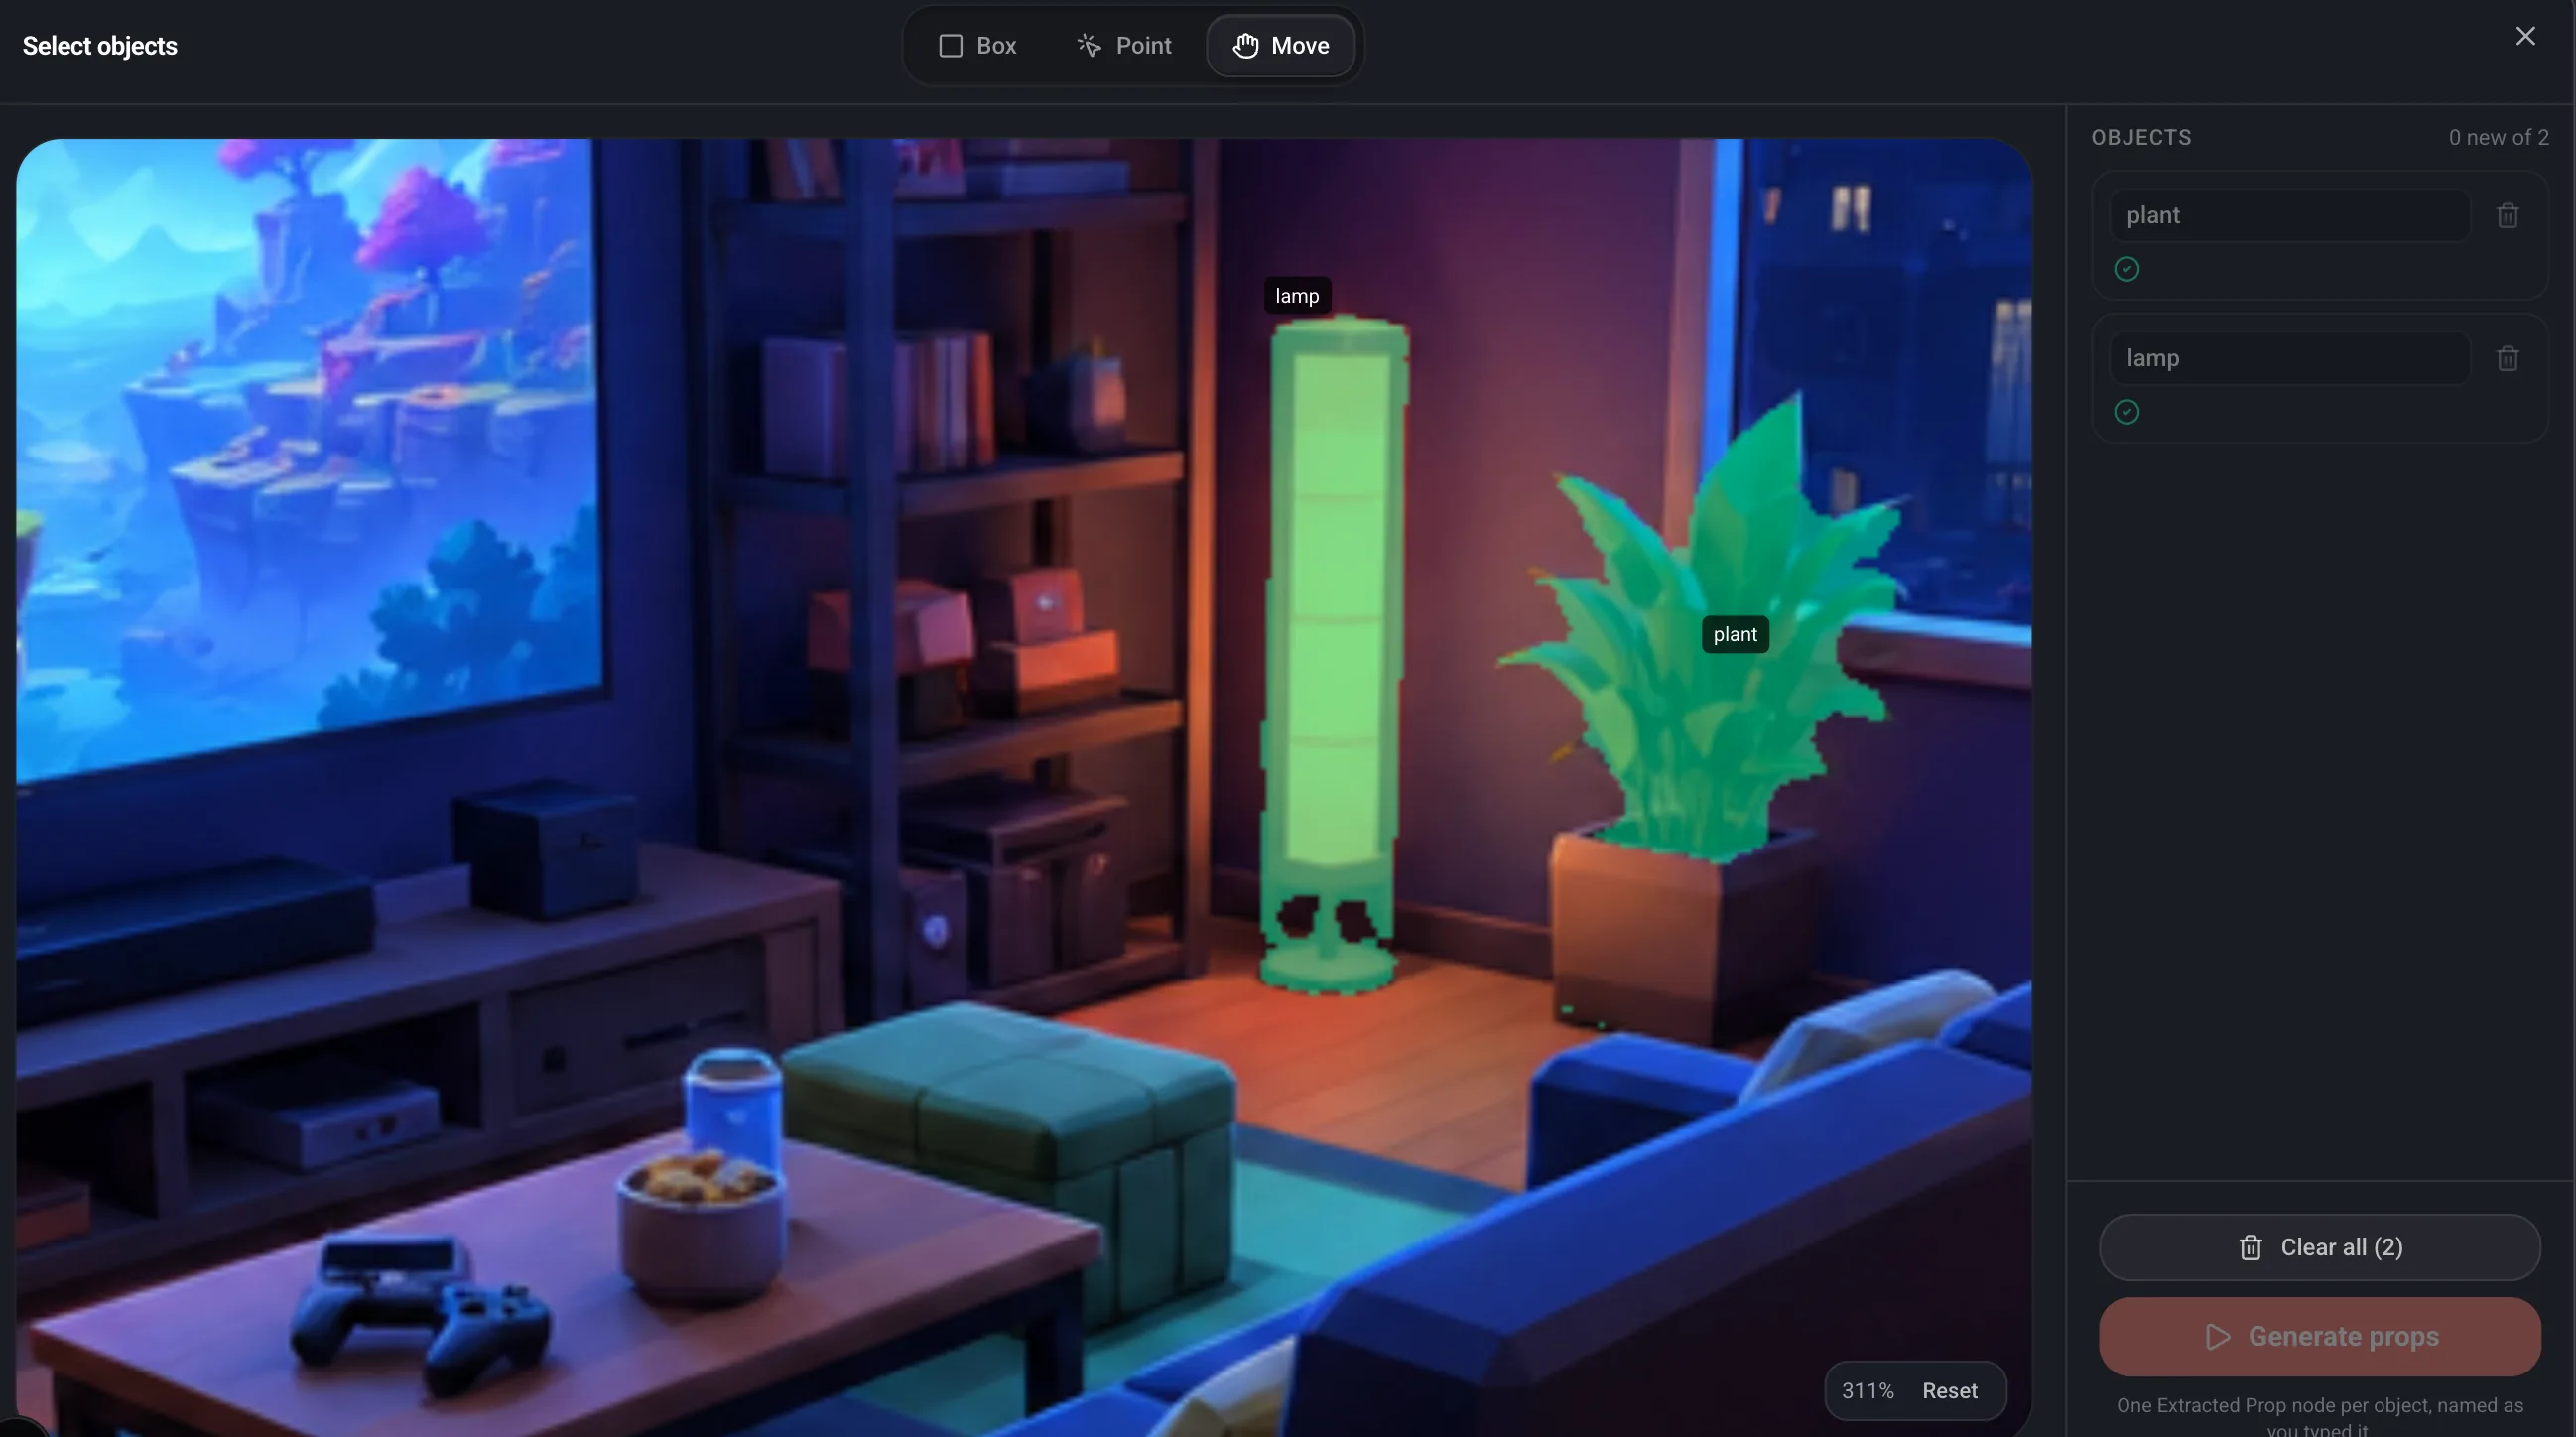
Small props need magnification. Scroll to zoom, then switch to Move and drag the image around. The zoom level sits in the corner with a Reset next to it, so you can come back to the whole picture in one click.
Correcting the edges
The outline is found for you, and on a busy image it sometimes takes in a neighbour or drops part of the object. Press Fix outline on an object and correct it by clicking.
- Include is the green plus. Click a piece the outline missed, for example a leaf it cut off.
- Exclude is the red minus. Click something that does not belong, for example the pot the plant stands in.
- The cursor carries the mark it is about to place, so you never have to look away to check which one is active.
- Every mark stays on the image. Click one again to take it back out, or undo the last one.
- The outline is recomputed after each click, so you judge the result and stop when it is right. Press Enter or Done.
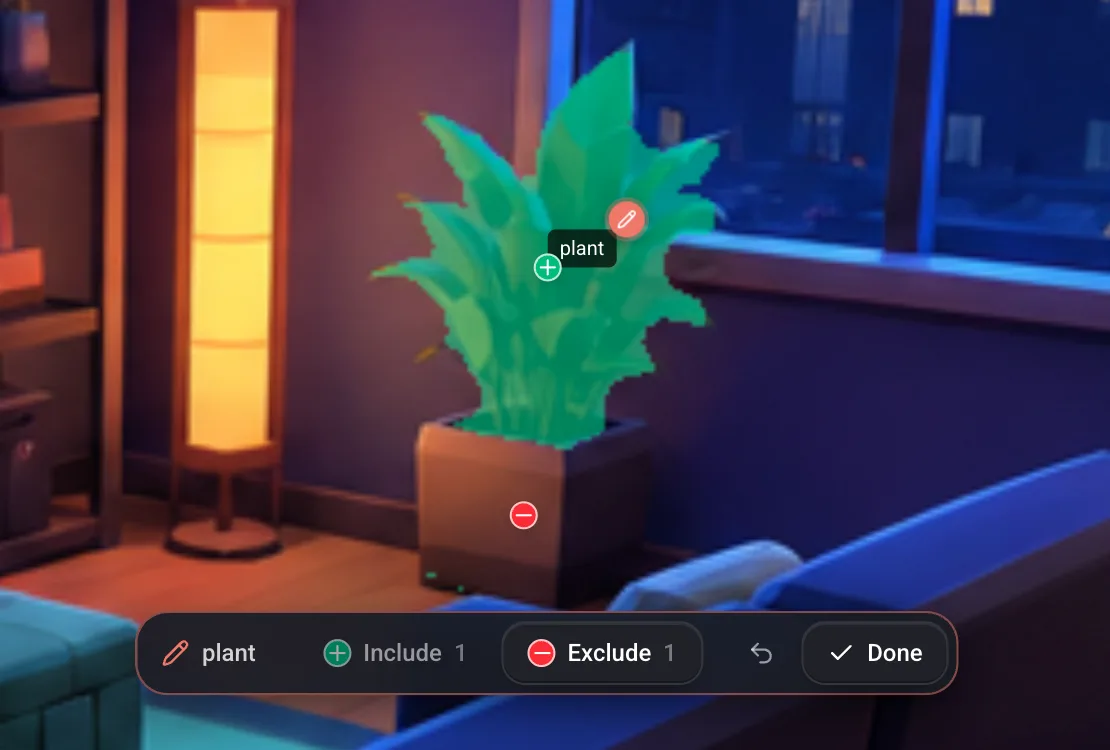
Correcting comes after the first outline, not before. There is a silhouette on screen to judge by then, so you are fixing something real instead of guessing where the edges will land.
Then generate
The sidebar holds everything you marked. Rename a row, remove one, or clear the list and start again. Press Generate props and each object becomes its own Extracted Prop node, named as you typed it. From there it goes where any prop goes: a four view sheet, Image to 3D, or Prop Variations.
Worth knowing
- Marking, detecting edges and correcting them cost nothing. Credits are spent when you generate, one prop at a time.
- Closing the window mid-detection is safe. The objects keep resolving on the node, and Generate waits until they are done.
- Objects already generated stay listed as a record. Generate only runs the new ones, and the button says how many.
- Auto-detect keeps the same surface behind Add a part from the image, for the one thing the analysis missed.
- Clearing the list cannot be undone. Props already generated stay on the canvas.